Posts

Showing posts with the label Tali

Thoughts about Visors and Reimagining Tali/Quarian Cosplay

Image
Visor Thoughts Since making my Quarian/Tali helmet two years ago (Gawd...it's been two years), I've learned quite a bit but this video...made me happy mad. Happy because it's a great resource for making a visor and mad because back in the day I had this mask and used it as a buck model for petg plastic. :( All along I could have used this chrome mirror mask, used some model lacquer tinted paint and krylon crystal clear finish. Life's not fair. But on the plus side, I share this with you should you have a visor delemna on your costume project. The video is unclear on how to tint it but in the comments I found mention of airbrush painting or laquer. So still have the same issues for coloring.  As you may have surmised from my lack of cosplay posts that I've taken a break from cosplay for a couple of reasons. Depression the creativity killer. Just losing interest in going to cons which seems to be the only place to cosplay.  Want to lose weight. Also a p...

Transparent Worbla or TranspArt

http://www.worbla.com/?page_id=4013 OmigoshOmigoshOmigoshOmigosh!!! This is the answer for so many of my prop issues for Tali! It's also a fantastic way to make casting molds. Seriously...if I could make a visor with this!! This would be way easier than thermoplastics. Downside is that it is pricey. I want to make an Omnitool out of it. Also redo the visor. :D

Why haven't I updated this!?

Image
Ha so it's been awhile since I posted progress. And progress had been made! First I'd like to show off my Grey Warden costume that I "debuted" at PAX South. Some of it broke off before I got this picture taken. :P Grey Warden...missing elbow armor. Tali's cosplay has been retired early as I rethink the design. The helmet is the only part that really came out nicely. Well...the metal arm stuff was pretty good too...and pants. Okay but my issue is that it had too many moving parts to put on by myself. I'm rethinking some of my take on the costume design. Like I probably will sew the bandeau onto the shirt directly and make the neck thingy out of fabric instead of foam. I still have plenty of leftover fabric so I can do it. And I'm still unemployed. :P Much sadness. I have the fabric for the Inquisitor but little motivation to work on it. Currently, I have some very serious things to think about for my life in terms of work. We'll see how things ...

Keeping things ON.

So various parts of Tali don't stay on well. It's a hodge podge of velcro, glue and tape currently (as a temp solution. I've also got a couple more pieces to make: Arm Bands, magazine clip holders and Shotgun. OH and the omni-tool. I forgot about that thing. :P So here are the bits that broke when I put on my costume: - Left Leg bracer: The d-rings popped off. Needs a better way to keep these together. - Right Foot Armor: Pieces keep popping off. Really need to glue these down. -Bandeau likes to slide around. I think I need to sew some of it onto the belt somehow. -Leather Arm bands, the darn velcro just popped off. Needs to be sew on not glued. - Arm Bracer: Just a touch a velcro will help keep it from sliding off. So I know what I'm doing for Christmas. :D 

Prince Tali Marvelous She...

Image
The fruits of my thanksgiving weekend labor. And then things immediately started falling apart because yeah...temp attachments are temporary for real. So From here on it's fixing and trying to lose weight. XD As you can see, my other bit of leg armor is not on, due to all the attachment rings breaking off. 

The many belts of Tali

So I spent most of the day at my sewing machine working on some of the accessories and cloth parts of the costume. I'm happy to report that I've finished all the purple cloth parts and the belts. Still to go:  -Finish up the leather arm bands.  - Create the Neck wrap.  - Upgrade helmet  - Upgrade Leg armor  The leg armor is turning into a bigger challenge than I anticipated. More research is needed. :) Pics will come soon. Once I clear some space to set down the camera and get dressed. Probably tomorrow. For now...sleeeeep. Zzzzz...

You can LIIIIIIVE!

Image
Sorry about that, I turned 30 about a week ago and many things changed at once, including projects I'm working on. With Thanksgiving coming up, I'll have 4 free days to work on stuff. My plan is to set up my sewing machine and finish up the sewing needs for Tali's Costume. I've been negligent on that part. I will also remake the helmet to suit the new visor eventually, but first the sewing. The other project I've been working on and off is an RPG Maker game, currently unnamed. I made a wiki for it: http://centaurrpg.wikia.com/wiki/Centaur_Game_Wiki Along with that Dragon Age Inquisition came out...and I had to buy a new computer to run it basically. :P She's custom built. But now I have spare parts and computers to get rid of. I still haven't played the game yet...but I AM ready to. I'll post about the game on my Gamer blog.

Hallowent and Leg armor progress

So I decided to try on all my Wolf Queen costume last night to make sure everything fit. It barely does. Well, part of that is the corset's fault. ;) However, I'm not seeing any Halloween parties coming up in my facebook feed. ._. I hope I didn't make this costume for naught! Halloween is next weekend! Hrum.... In other news, I painted the leg and foot armor bits for Tali with their base coat. I'll have to detail them which I thought I'd do today, but tonight is Book Club. I might get around to it tomorrow, but I have a baptism to go to and Sunday is D&D day. Augh...social weekend?? WHY??? Also...November 18th comes closer. (SO excited!)

Arm'ored

Image
New Arm armor! Next will be the legs. I LOVE WORBLA!! I also was looking at the video footage of my visor making. Yeah, the angle was not flattering. So, yeah, not uploading that. No need for embarrassing bum shots at birds eye view. :B Or is there? LOL. 

Inspiration coming back!

I swear shopping for costume supplies does this for me, but I found a new thing. Yesterday I was lamenting on how my styrene armor for Tali wasn't shaped right and was just too stiff. I couldn't walk well in the leg armor and the metal arm barely fits. Then I remembered seeing something about Wonderflex so I went and did some research. For rounded armor pieces, it would be better. But then I discovered Worbla. My mind was blown. Putty plastic? Glue on one side? So I ordered some. :) I can still use the styrene cutouts as a base I think. It's also got me re-evaluating my Warden armor. I have most of the foam bits cut out. The Worbla would be so good to use on it. So excited. Seriously. I've also got a new strategy on the leg armor. I'll share it after I do some doodles of it. Update: OMG OMG OMG...there's a place that sells Worbla IN AUSTIN...close-ish to where I live!!! The downside...I was literally just at that store TODAY and didn't know until...

More Leg Stuff, My Flash Game, and New Helmet Visor?

Howdy Again,  I managed to get the legs to a place that will work for me. I've lined the styrene with foam rings and it velcros at the seam. It'll need painting and weathering. Everything needs more weathering. :D I've also got the fabric for the veil. It looks nice on the helmet. I first have to sew the trim before attaching it to the helmet. (Otherwise I know it'll just be falling off all the time.) The glove finger tips have been redone. Now they are tipped with duct tape. Duct Tape, the handy-man's best friend. :) Currently I'm considering re-doing the visor one more time. I got some violet iPoly Dye this time and this time I won't put ANY Tamiya paint on it. Just for a slightly better visibility. Still to do: Arm Belts (bicep and forearm), Hip belt, Bust Belts, Boot Knife, Mesh on shirt, Attaching armor to shirt, Shoulder bands, Neck Collar, Veil Trim, Painting boots. Hemming the pants. Possibly also attaching these pants to my capri pants. H...

Look at them gams (and other updates)

Image
Leg armor...turning into more of a beast than I expected. Looking at other builds, fiberglass seems to be the favored method of making the leg armor. Sadly, I am not used to fiberglass, nor do I have the space or ventilation to do that. So for now, I'm using Styrene and foam. (note to self...I'm going to need to buy more foam. :P) I cut the pattern for the boots in paper and then styrene. My plan is to shape strips of the foam around the leg shape dummy I made. Then glue the styrene to it. This will give me some cushioning as well as a solid leg shape. In other updates, I've affixed magnets inside the helmet so the visor pops on an off a bit easier. I covered the exposed foam with leftover black fabric. The armored sleeve is done to where I like it. I think I'm going to directly affix them to the sleeves of the shirt I bought for it. I'm also redoing the glove fingertips because manipulating life with the styrene tips on was not happy tim...

Helmet finished-ish and gloves

Image
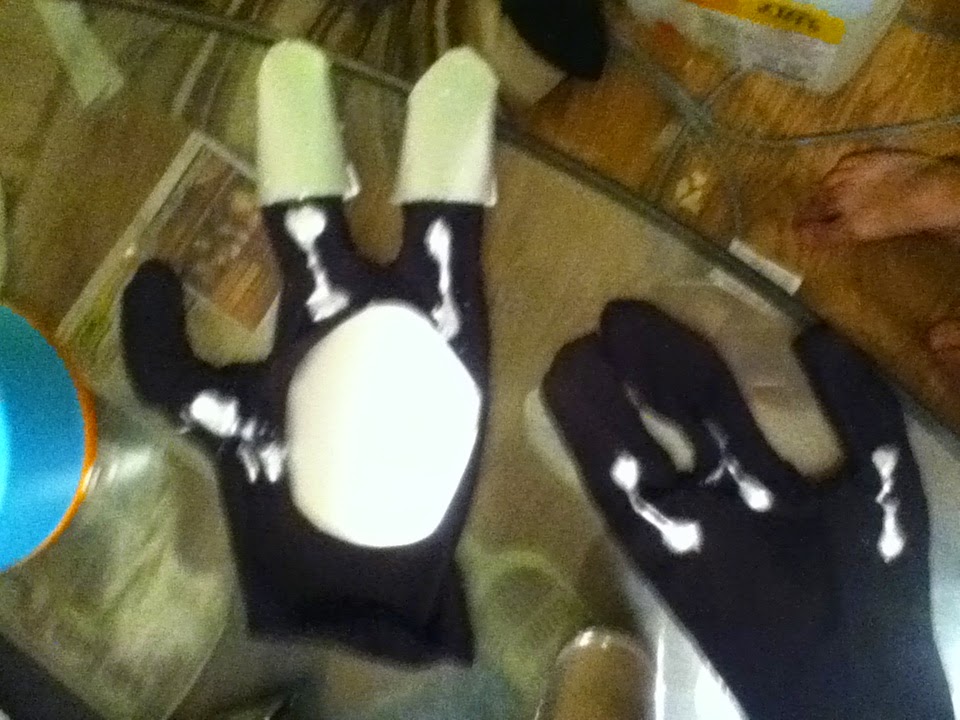
I still need to do detail work on it and lots of touching up but the helmet is basically made. Yay!! First the gloves: Fabric paint got a little sploched. :P Oh wells.  Here are pictures of the helmet process. Here are my supplies, sort of. Some of the first pieces I cut from my earlier pattern pieces. Some pieces also have Styrene on them. Before construction, I painted the different parts in Silver and Black. I cut down the visor using the pepakura pattern as my guide for the size and shape. I cut a little/lot bigger than the pattern.  The inside of the visor was lined with foamies and the outside was as well, using black foamies.   Using a test head band I made, I started construction of the helmet. I ended up scrapping the head band all together later on. Angled cuts on the foam help here.  After the foam bits were on, I glued the styrene coverings.  The mouth piece was made with foa...

Tali Arm Armor

Image
I'm working with styrene. It's hard. New stuff is hard. But I finally made PROGRESS. Also gee...I meant to post images of my wolf queen but I'm pretty lame bots at it. XD Anyway, Yay progress. I wonder how I'm going to do the boots. Yeesh. Research is needed! :D Maybe plastic coating is a better way to go. Hmmm.  Also, the trigger on the paint can, helps so much. Awesome.  Anyway, still on the hunt for a job. So maybe I should focus on the helmet since I have all the parts for that. :B  Also side note, FRUIT FLIES SUCK. Ugh. Can't get rid of 'em. Super annoying. 

August Begins

A new month. And ever closer creeps my personal deadlines for these costumes. October was the goal for the Warden and Tali. However, since I've taken on another project for Halloween, I'm scooting Warden and Tali out to November. And Alistair...the poor chap...hasn't had any construction done what so ever. :( I have all supplies too. Anyway, I've made a bit of progress on each costume here and there. Tali: I took the shoes out of the feet and got inserts to put in there instead. Warden: Put more studs into the Jacket. Wolf Queen: Made the Circlet, got the beads for the necklace, made some ears and started on the tail. Got some knee high nylons to make the feet. I've also had quite a few interviews the past couple weeks. I hope to start a new job soon. *pleeeease, better pay, better environment* Anyway, I've also been going to D&D sessions on the weekends. ...I'm learning how bad I am at improv. LOL. I hope to finish the Wolf Tail this week ...

Distracted: OH NO!

So San Diego Comic Con is going on. And a Tali cosplay appeared on my facebook feed. :) It was fun to see especially since it was a ME 3 version. I think I'm unique in doing ME 1 version. But I'm distracted. I haven't done costume stuff for a couple of days now. >_> I started playing Dragon Age Origins again. /sigh/ I keep glaring at the Warden Armors. WHY ARE THERE SO MANY BELTS?? GAwww. Anyway, I'm both distracted and inspired. Perhaps it's time to feed the muse instead of work out. But I'm sure the beads I ordered will be coming in soon. And I'll be moved to work on something.

Foot Fetish - err...making feet

Image
Last night I finished the Gloves for the Wolf Queen. (Pics to come soon). Once those were finished I began thinking about how I wanted to do the feet. In my drawings you can see they are kind of looking like high heels which is what the concept art for the character had. I tried on my high heels last night and began to think very seriously. As my feet started to ache after 30 seconds of wear it became clear that much like my Tali cosplay, the Wolf would not be able to long stand the high heel...unless I went with boots. While doing research on how Fursuits got around this issue, I stumbled upon sock paws. With a little re-engineering I think I can make my sleek, delicate Wolf Queen feet. Because she is regal after all. Some of my plots: 2 pairs of socks (ballet/anklet socks + nylons/thigh highs) Inserts Craft foam Tape: Duct, Masking and more Glue of the hot variety Similar to the route I went with Tali's feet I will use craft foam stuffed with scraps and wrapped...

Dye Plastic Dye!

Image
So I found this video on dyeing petg plastic visors. And guess what...it works like a charm!  I now have a purple visor!  It obscures my face, but I'll also be having back lighting in the helmet so I'll still be a bit visible...when I want to be. :D So studly. Currently working on the sleeves. I'll have to finish the armor before adding more. 

I...I think I did it!

Image
It's easy to see out of...those are just droplets of water. It was a bit dusty. Tinted  with ink and a thin layer of Tamiya After another layer of ink. Wearing a mask under the tint.  Here are all my attempts so far. The safety mask with too much tamiya, the failed vacuum forming, the successful vacuum forming with too much tamiya, and my current one.  Still wondering how to tint, till be able to see out of it but hide my face mostly. 

Epic 4th of July Costume Weekend

I am pleased to report that I actually got through most of my list for the weekend. Yaaaay. So happy to see progress. You can see results on my Deviant Art . My plastic DID come in on Saturday however, I was too involved in sewing that I put it off. I also managed to get a little work done on my Warden tabard. Found out I didn't have enough blue trim so I'll have to buy a couple more rolls of ribbon. Not terrible. Things I still need to do: Adjust the pants so they fasten close in the back...thinking velcro for this. Same with the bandeau. Again, using velcro. Cut vinyl to make the belts and armbands. Necklace bit. Helmet Armor bits Visor