Acrylic Glass Art with 3D printing Series: Ruka and Kyojuro Painted Scene
This was the project that really spear-headed the whole craze. I wanted to wait until I got good...but I didn't. I just went for it. And we'll see how it goes.
What I Used
Materials: Acrylic Multi-Surface Paints, Stencil 4.8" x 7" Glass, Chrome Spray Paint. Vinyl sticker on back for protection(?)
Method: Masking with lineart
Color Method: Cel painting
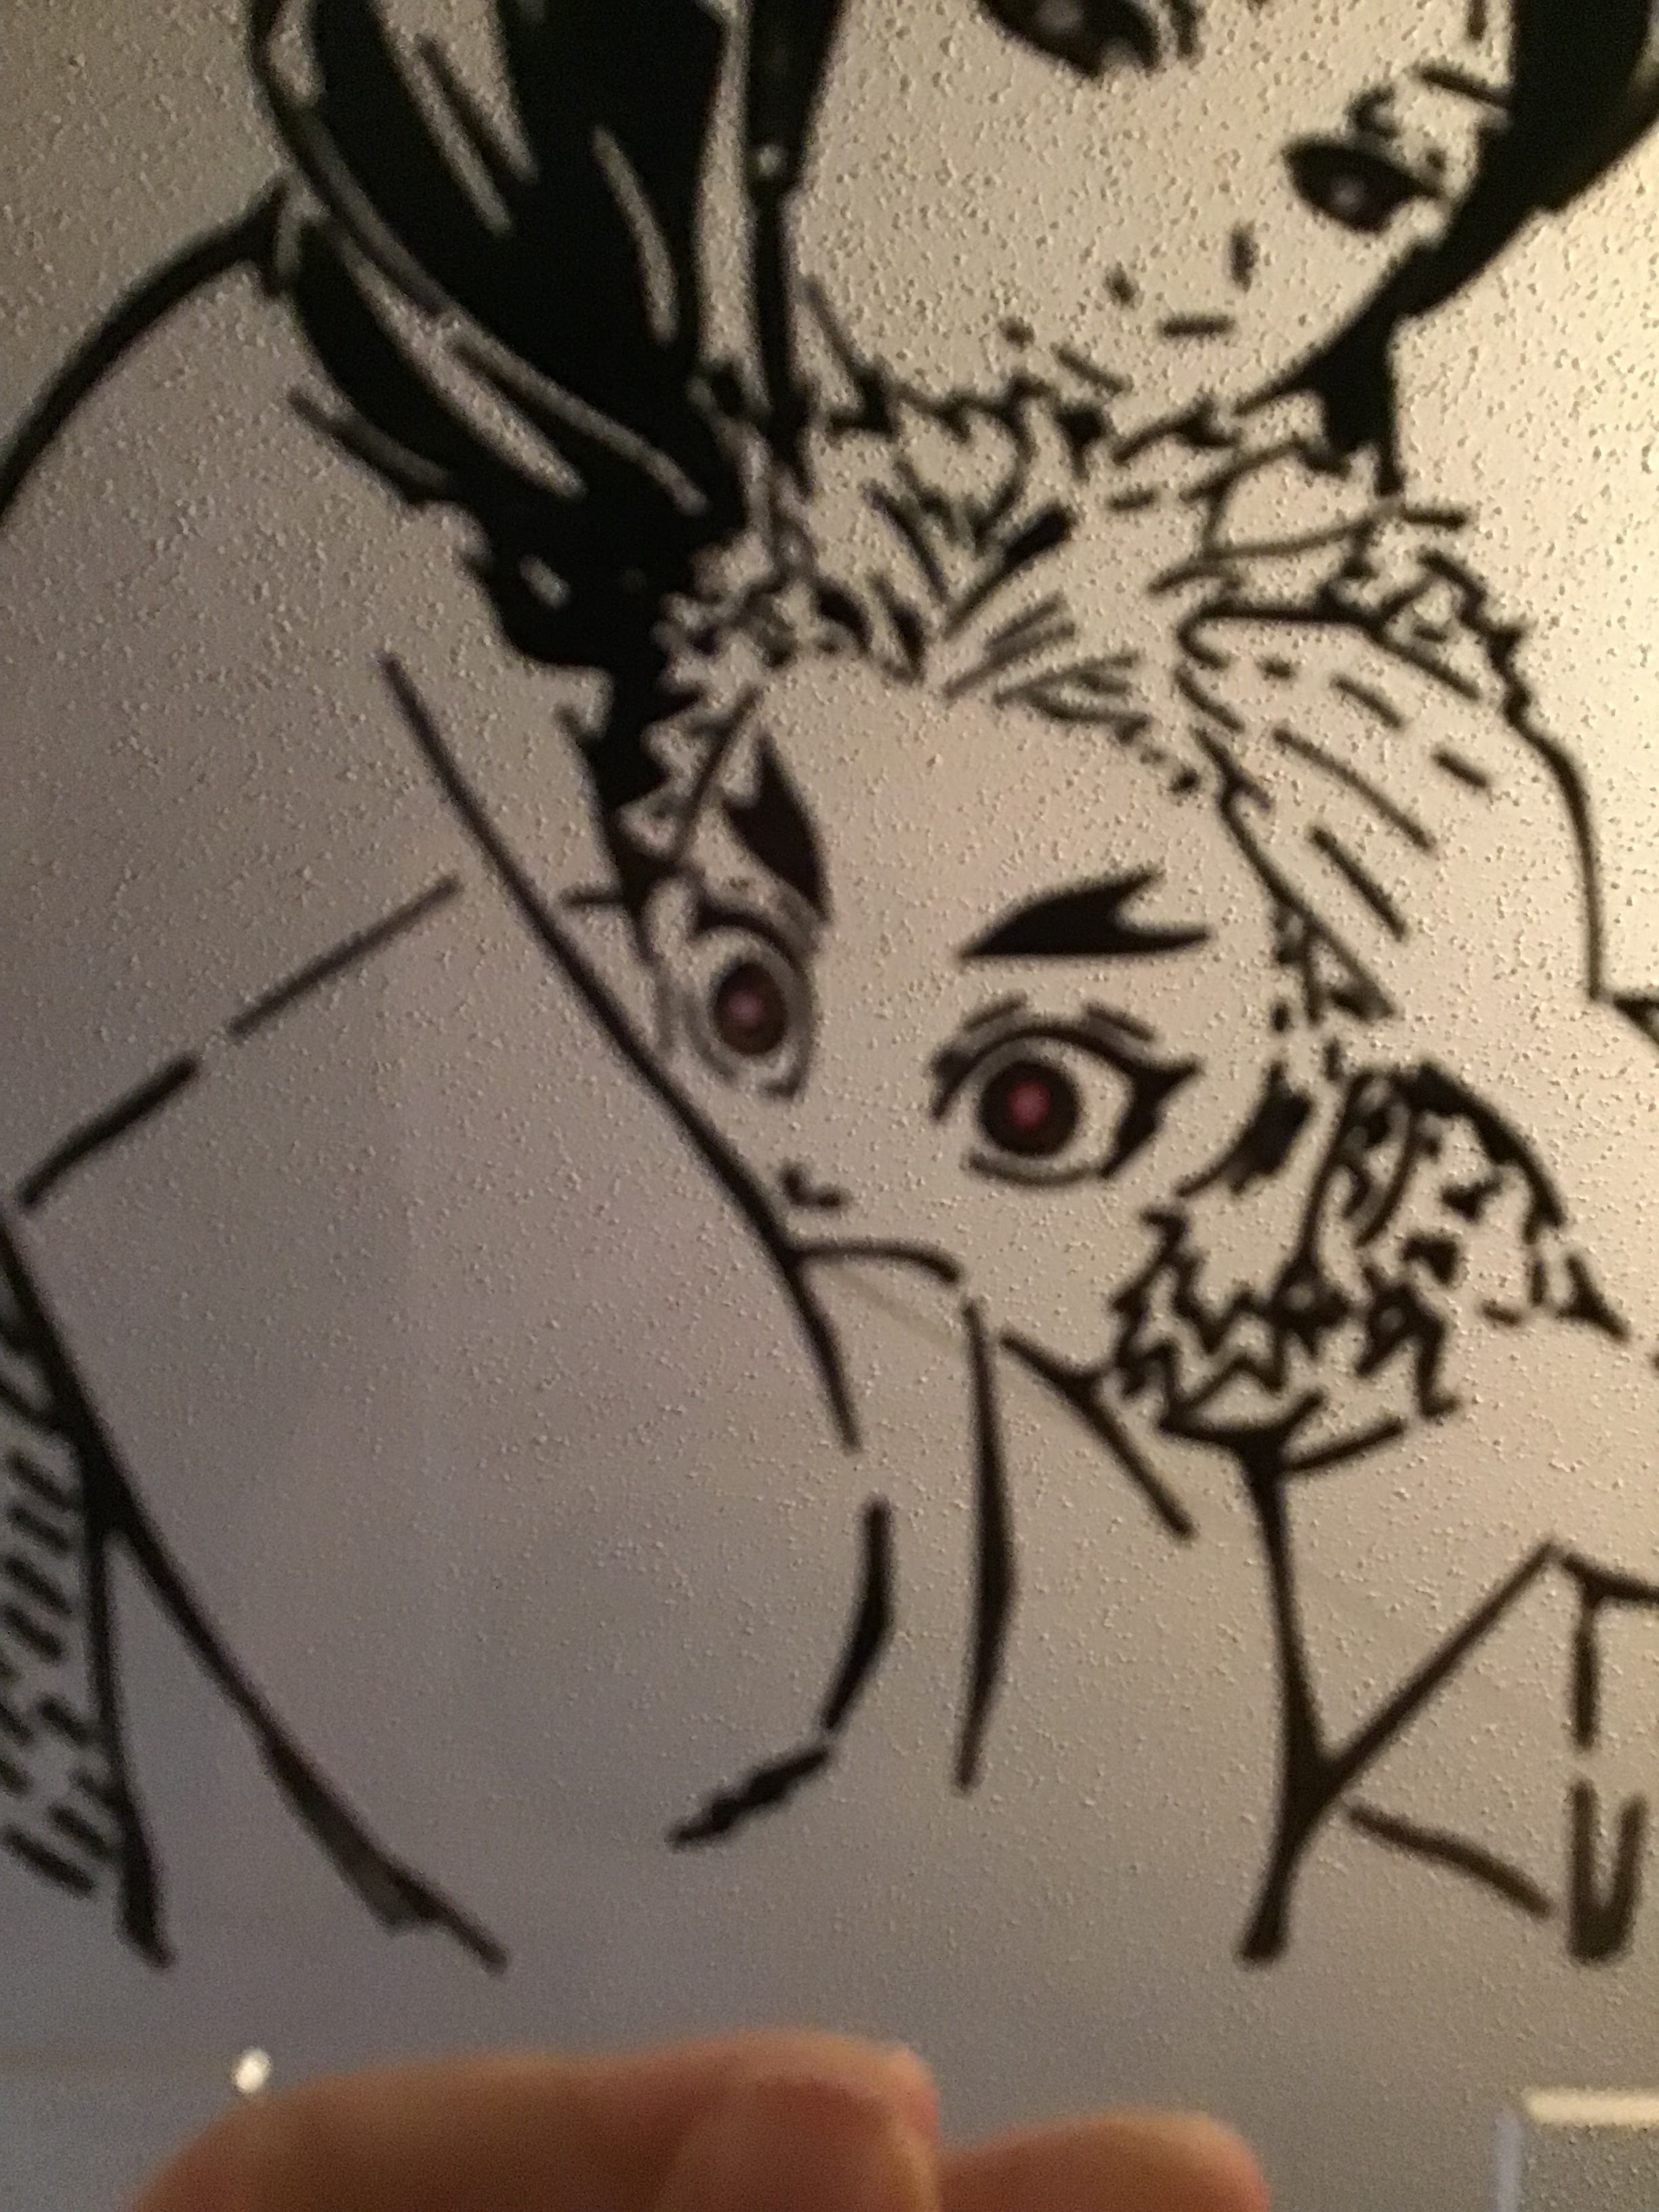
 |
| Colored Reference. |
Image Prep
The image was originally from this Stencil which looks like it's based off a frame in the manga. That's why there's lots of little scratch lines and fiddly details. I opted to take out the flowers on the sleeve, thicken the lines in Kyojuro's eyes, and open up the space in Kyojuro's hair tips since I will color them later.

Another thing I was trying to decide is if I would print the scene as a stencil or inverse stencil.
 |
| Stencil Version |
The pros of the Stencil are that the line art will be flat black paint (except Kyojuro's pupils which I will first paint white). The stencil should be a bit easier to remove than the inverse stencil.
The downside is the print time and amount of filament it will consume. And once the filament is off, only flat black paint will block my edges when coloring. (I am not a very neat painter sadly.)
 |
| Inverse Stencil |
 |
| Wish I printed this in Black! |
So pros of the inverse are: Line art is in plastic and I don't need to remove the stencil. The print time is lower and uses less filament. I have "bumpers" like painting stained glass so my colors won't run into each other. If I really wanted to, I could remove the stencil after painting the character colors and background. I'd just need to spray paint in black.
Cons: Have to make further adjustments to the 3D model since Kyojuro's pupils are white. Likely to see the 3D print lines in large areas like Ruka's hair.
In the end, I went with Inverse Stencil. It is the easiesr method.
Color the Image
This actually takes some careful thought and planning. Because the way I am used to coloring is bottom layer to top. But this time it has to be TOP layer to bottom. I wrote down my steps so I can keep things clear in my mind. Also made a photoshop image to see the layers and renumber them.
 |
| Layers like onions! |
Kyo White Pupils, Touch up any black lines
White pupils (mom)
- Magenta iris metallic (mom), Red Metallic (kyo)
- Kyo Iris 2, Pure Metallic gold
- Eye Whites, Blue flower Sleeve Front
White Sleeve Front
- Parchment Hands (mom)
- Red Hair Tips
- Kyo's Hair front Yellow
- Kyo's Peach Face and Ear
- Yellow Hair Back
- Burgundy Kimono (Kyo)
- Blue Flower Pattern Sleeve back
- Gray Inner Sleeve
- Blue Stripe Obi
- White Kimono Back
- Black-Brown Hair (mom)
- Kimono Chest, Parchment Face and ear (mom)
- Background Color (Either Mirror Chrome or Frosted Glass)
The paint will be acrylics which may need primer on the glass to help it to stick but needs a few layers to work.
How it Actually Went
Before I started the print, I switched the nozzle on my printer from .4mm to .2mm which is the smallest size. It prints a much finer line.
Like last time, I printed the skirt for figuring out where to place the glass piece and level the bed. I taped the glass down to the bed lining up with the skirt. This time I felt I was a bit more careful with where the painter's tape went.
 |
| Taped down. |
Once I tacked them down, I wiped the surface of the glass with isopropyl alcohol.
I started the gcode and watched the first layer print like a hawk. I did note that at some of my tape went too far! So I paused the print which unfortunately left a bit of a streak.

 |
| But overall...line art is GREAT |
 |
| Backside. |
 |
| Front Side |
Layer by layer I globbed the paint on the back. I did stray over the lines a bit. But I didn't catch them in time. I did try to remove the scratch line but I was scared I might accidentally remove the 3D printed lines.
 |
| Just like cel shading! |
 |
| Silver backing! Very shiny! |
 |
| HOLD YOUR BABY!!!! |
Here's what it looked like before the background...btw.
 |
| Ignore my messy floor...and leg. |

Comments
Post a Comment