Prince Lotor - Day 1
Construction has officially begun! After a long time of collecting materials I finally got the motivation to work on a bit of it.
Over the 4th of July weekend, I created the shoulder pads and the stencils for the design on the front.
Also purchased the spandex and the costume pattern for the tailcoat.
Here's the progress for the shoulders.
Using my test craft foam pattern, I made a paper one.


Over the 4th of July weekend, I created the shoulder pads and the stencils for the design on the front.
Also purchased the spandex and the costume pattern for the tailcoat.
Here's the progress for the shoulders.
Using my test craft foam pattern, I made a paper one.

I played with the angles and sizes and cut them down to what I needed.
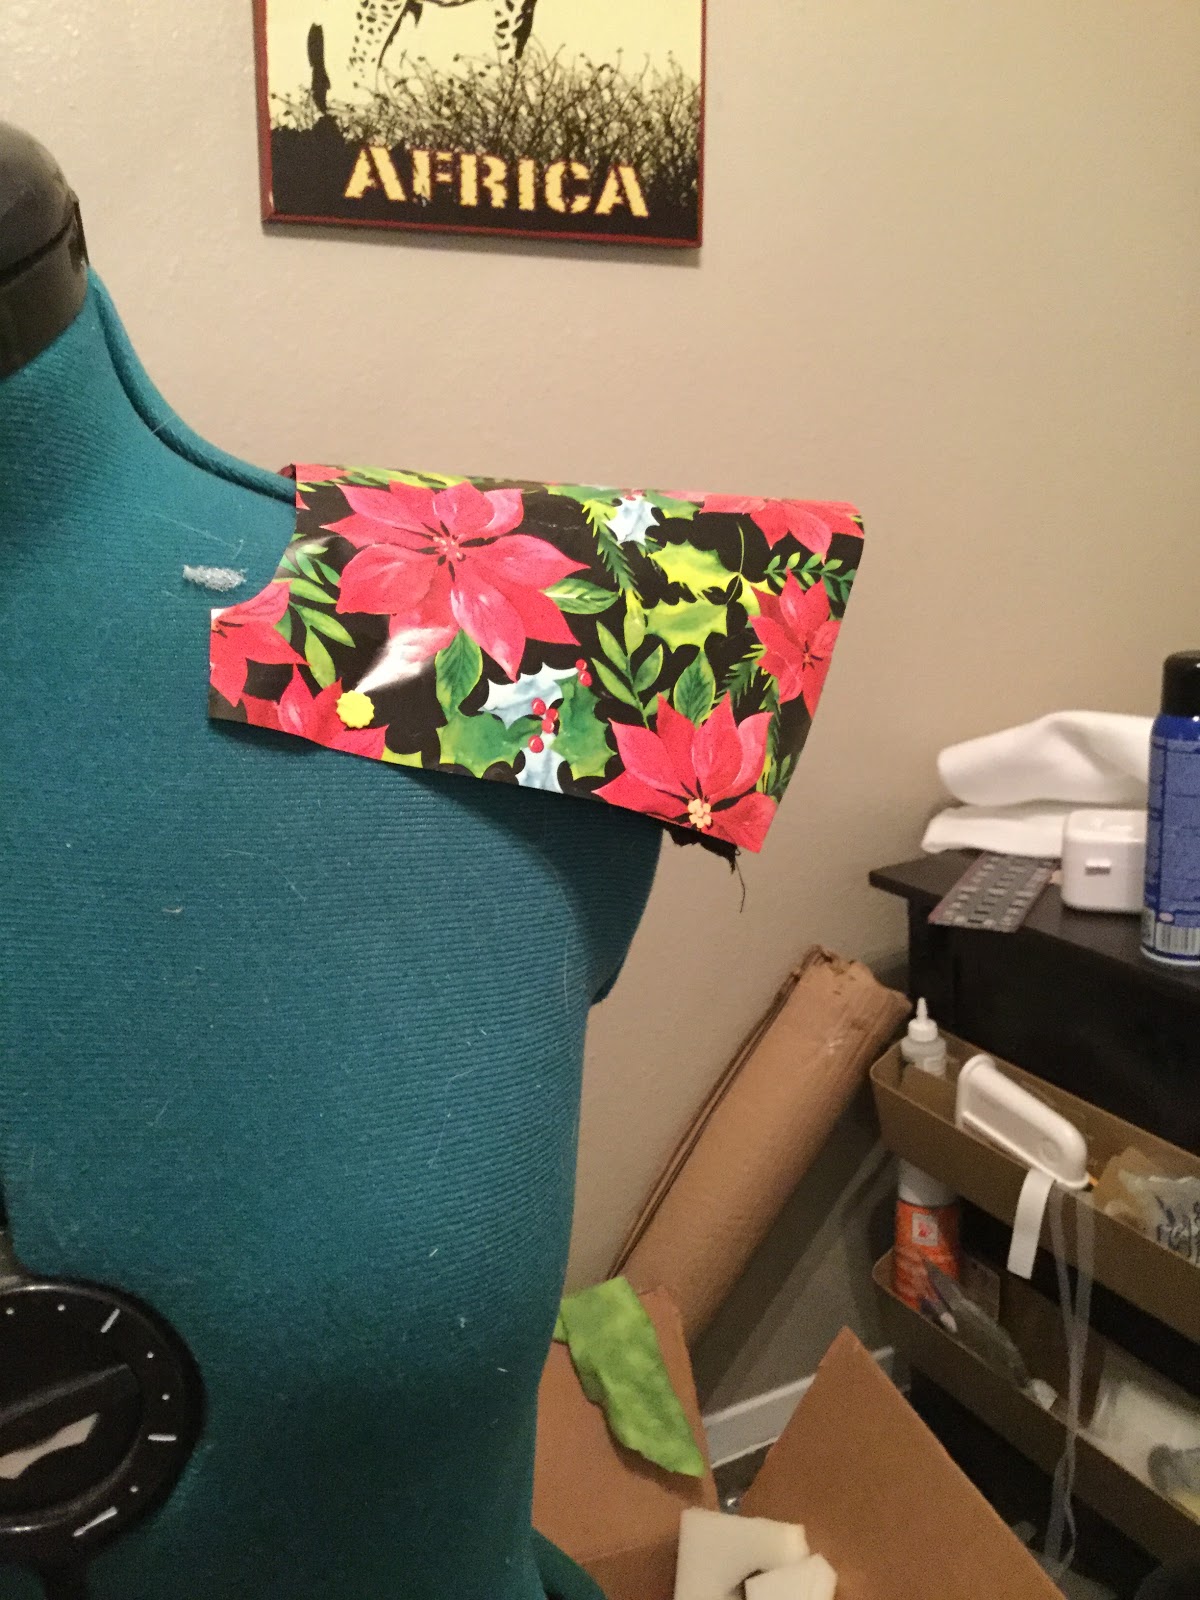
Then I cut pieces out of craft foam for the left and right shoulders. I used the Jacket sized shoulder pads to prop them up to the height I need.


Hot glued the pieces together and trimmed the blue part until I had the angle of attack.
I did a brief test with the shirt and found that just craftfoam would be too insecure and not stiff enough to hold the shape. So I added black worbla. (Regular would work find, but all I had was leftover black worbla.)

I only added worbla to the top and left the sides open foam. Used the worbla to further secure the top and side pieces. The sides need a bit more flexibility to fit right. Next I tested with my stretchy shirt.
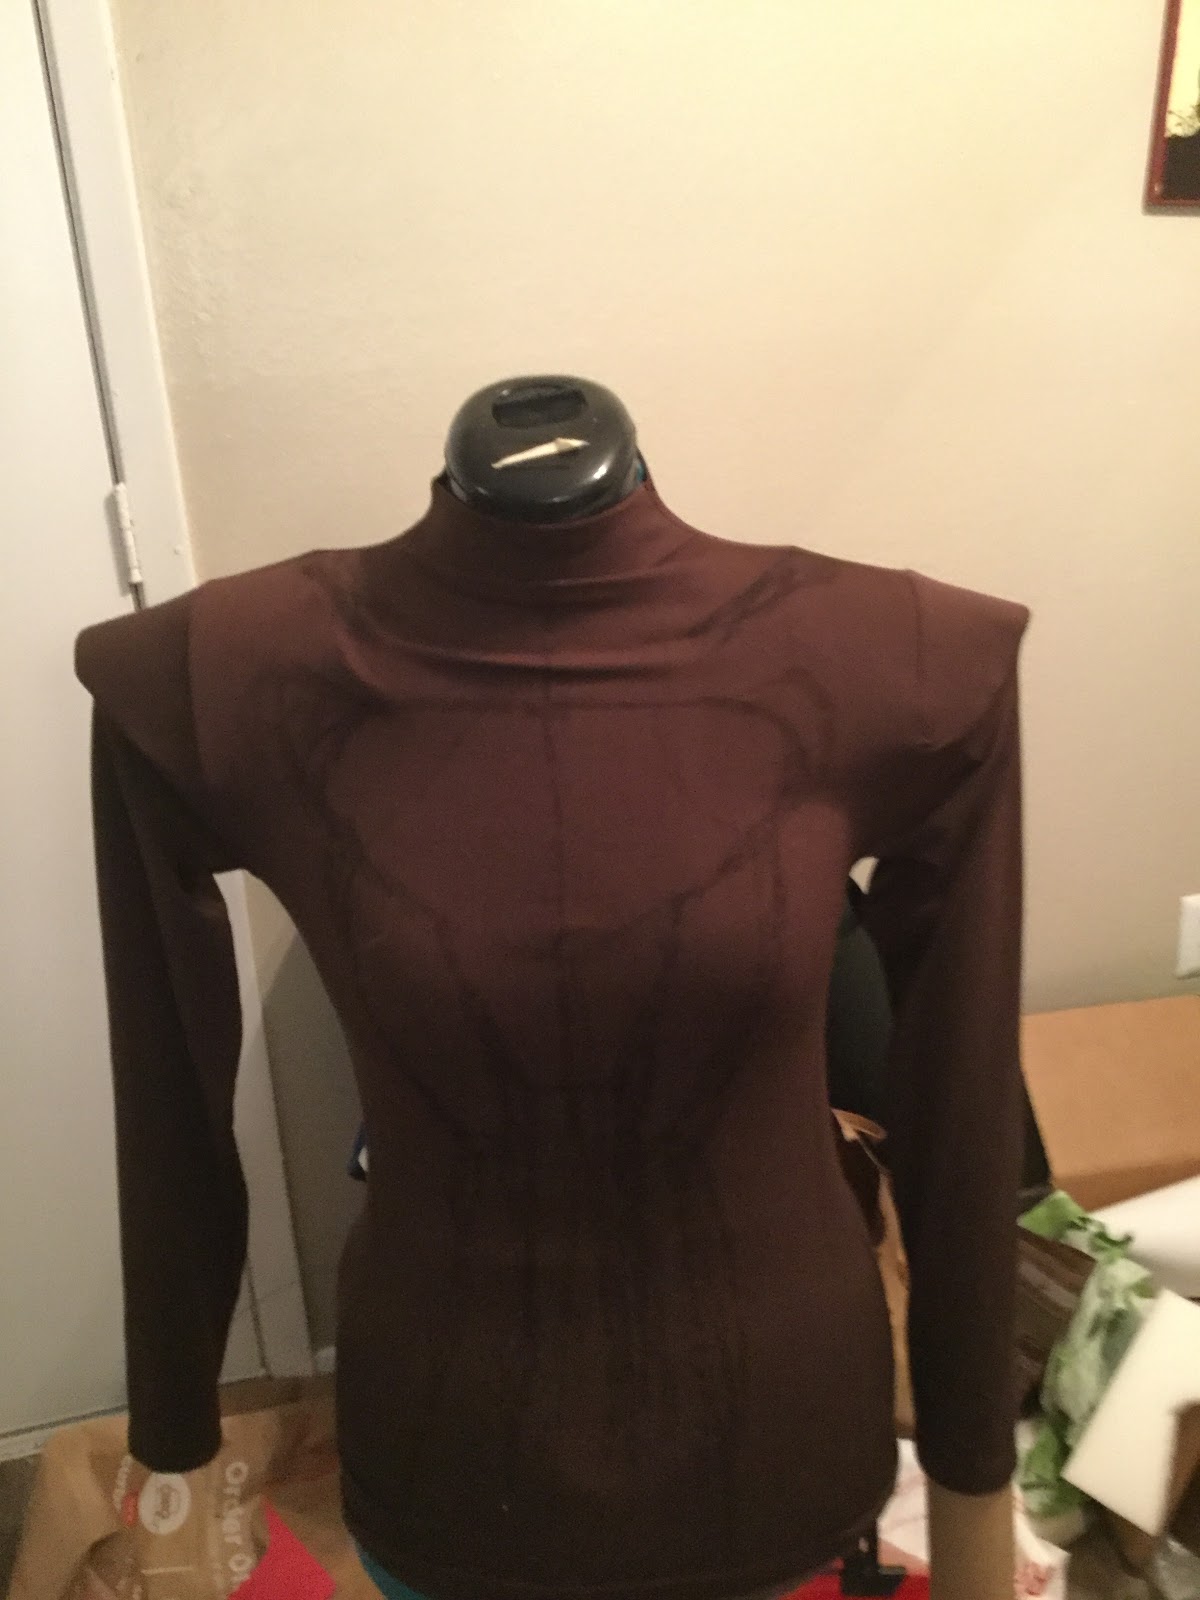
It's faint but you should see my guide lines for the panels and adjustments for seams.
I also tried it on myself with the shoulder pads. It looked good! So now I have what I need to adjust the bodysuit pattern and start sewing!
(Update: My spandex order came in today. I have what I need to make the bodysuit!!!)

Comments
Post a Comment